Final Blog
This year my artworks demonstrate my growth through planning and improvement on craving. There is always unexpected mistakes, but I realized this always lead me to change my original plan and I can always come up with new plan. I saw my improvement over the three years of pottery. I still could remember the time I did my first pinch bowl. It was a new experiment and this class is very different to my other classes. I like this class because I realized I like playing with clay. Over the year, I make several projects which demonstrated my growth. This included the constellation boxes and tiles, portraits, fruits (apple and pineapple) and bowls /pots over all three years. Thank you Miss A!
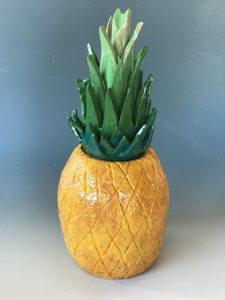
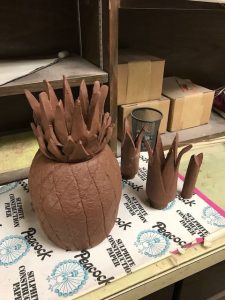
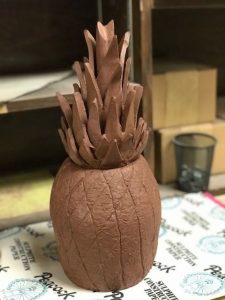
Pineapple
Red Earthenware Clay

Three Apples
White Earthenware Clay

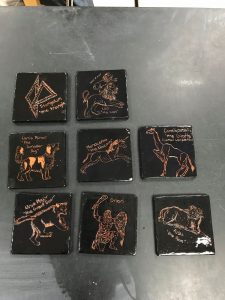
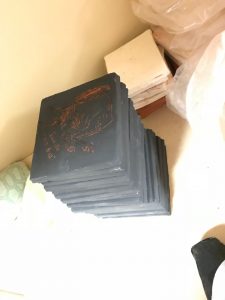
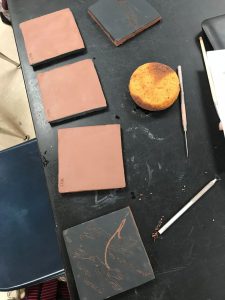
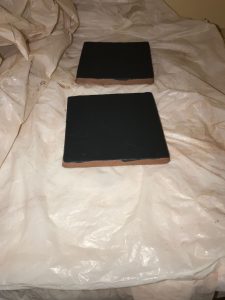
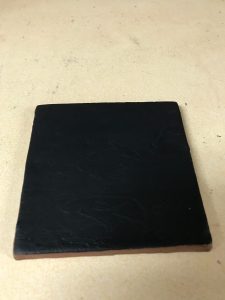
36 Northern Constellations Tiles
Red Earthenware Clay
4x4x1
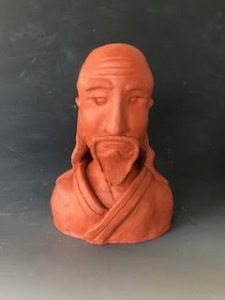
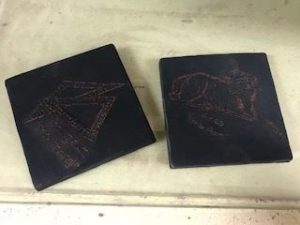
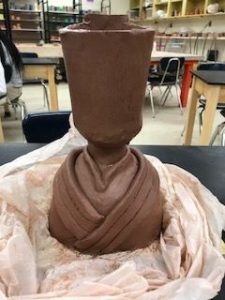
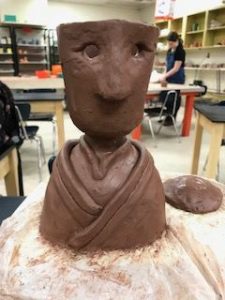
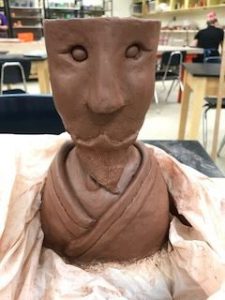
LaoZi
Red Earthenware Clay
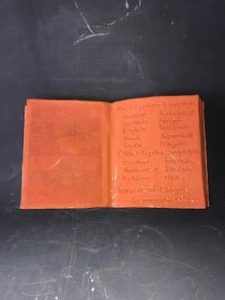
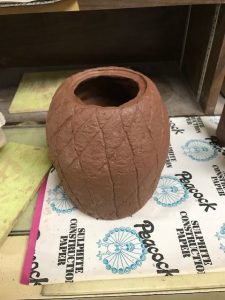
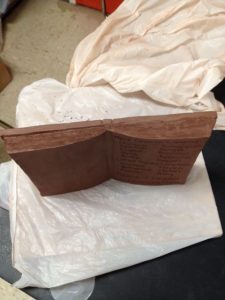
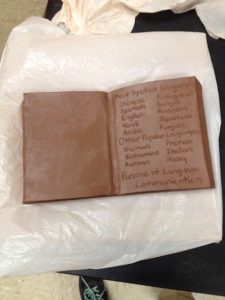
Language Book
Red Earthenware Clay